
Printable 1-Page 2025 Calendar: A Comprehensive Guide for Easy Planning
Related Articles: Printable 1-Page 2025 Calendar: A Comprehensive Guide for Easy Planning
- 2025 Perth WA Calendar: A Comprehensive Guide To Public Holidays And Observances
- Show Me Calendar For 2025: A Comprehensive Guide To The Year Ahead
- School Holidays 2025 Calendar: A Comprehensive Guide For Planning
- Unveiling The Enchanting Realm Of Kiehl’s Advent Calendar 2025 USA
- 2025 Indian Festival Calendar: A Comprehensive Guide To Cultural Celebrations
Introduction
With enthusiasm, let’s navigate through the intriguing topic related to Printable 1-Page 2025 Calendar: A Comprehensive Guide for Easy Planning. Let’s weave interesting information and offer fresh perspectives to the readers.
Table of Content
- 1 Related Articles: Printable 1-Page 2025 Calendar: A Comprehensive Guide for Easy Planning
- 2 Introduction
- 3 Video about Printable 1-Page 2025 Calendar: A Comprehensive Guide for Easy Planning
- 4 Printable 1-Page 2025 Calendar: A Comprehensive Guide for Easy Planning
- 4.1 Step 1: Choose a Template
- 4.2 Step 2: Customize Your Calendar
- 4.3 Step 3: Print Your Calendar
- 4.4 Step 4: Display and Use Your Calendar
- 4.5 Additional Tips for Creating a Printable 1-Page 2025 Calendar
- 4.6 Conclusion
- 5 Closure
Video about Printable 1-Page 2025 Calendar: A Comprehensive Guide for Easy Planning
Printable 1-Page 2025 Calendar: A Comprehensive Guide for Easy Planning
In today’s fast-paced world, staying organized and on top of your schedule is crucial. A calendar serves as an indispensable tool for planning and tracking appointments, events, and important dates. While there are numerous digital calendar options available, printable calendars offer a tangible and convenient alternative.
This article presents a detailed guide to creating a printable 1-page 2025 calendar. Whether you prefer a minimalist design or a more elaborate layout, we’ve got you covered. By following the steps outlined below, you can easily create a customized calendar that meets your specific needs.
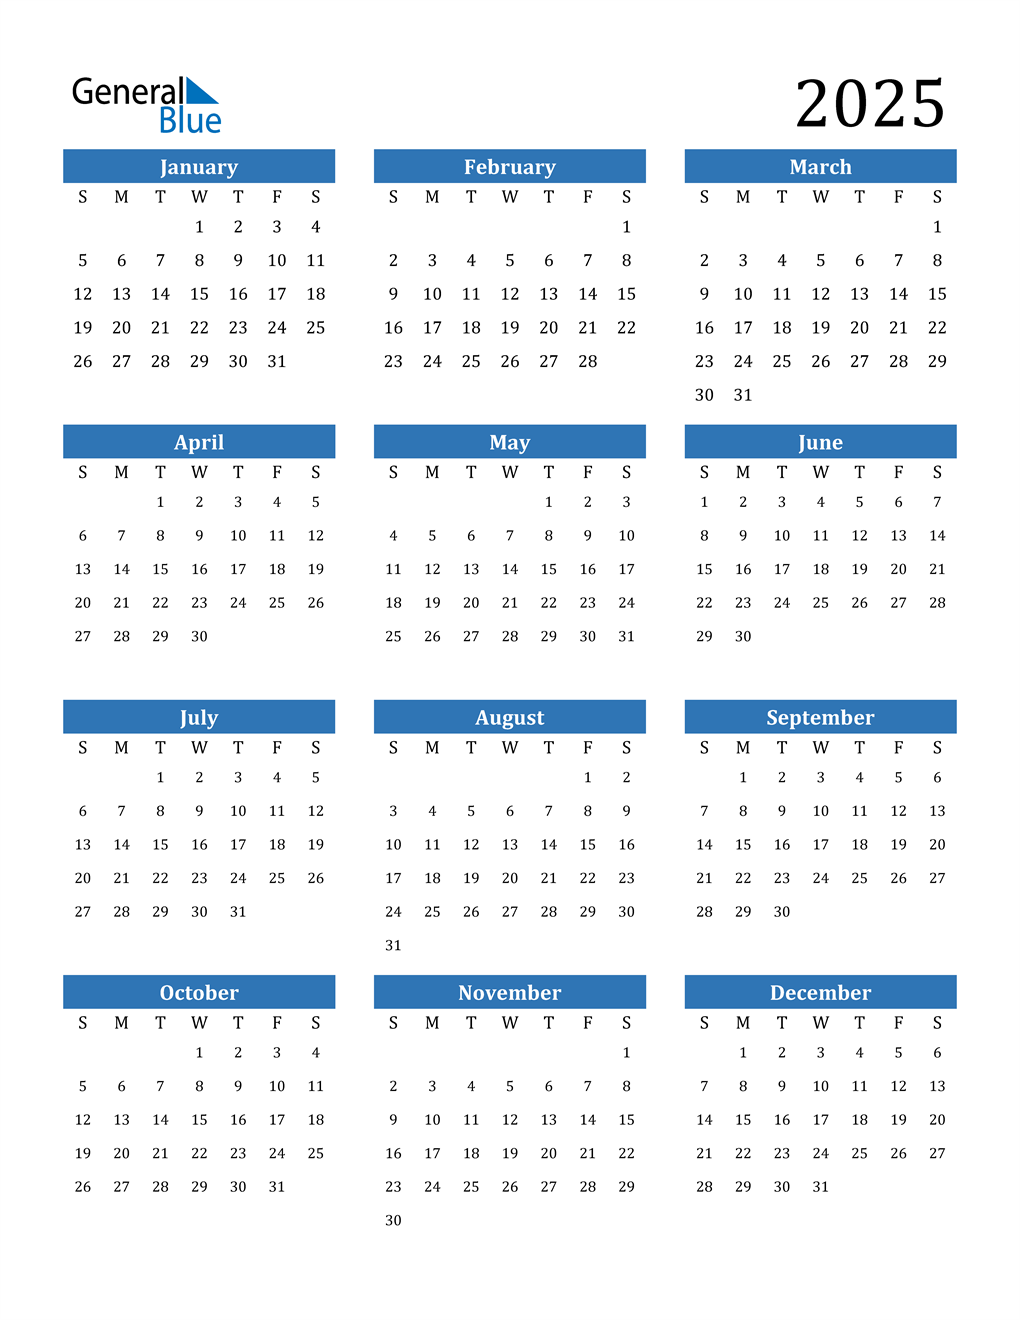
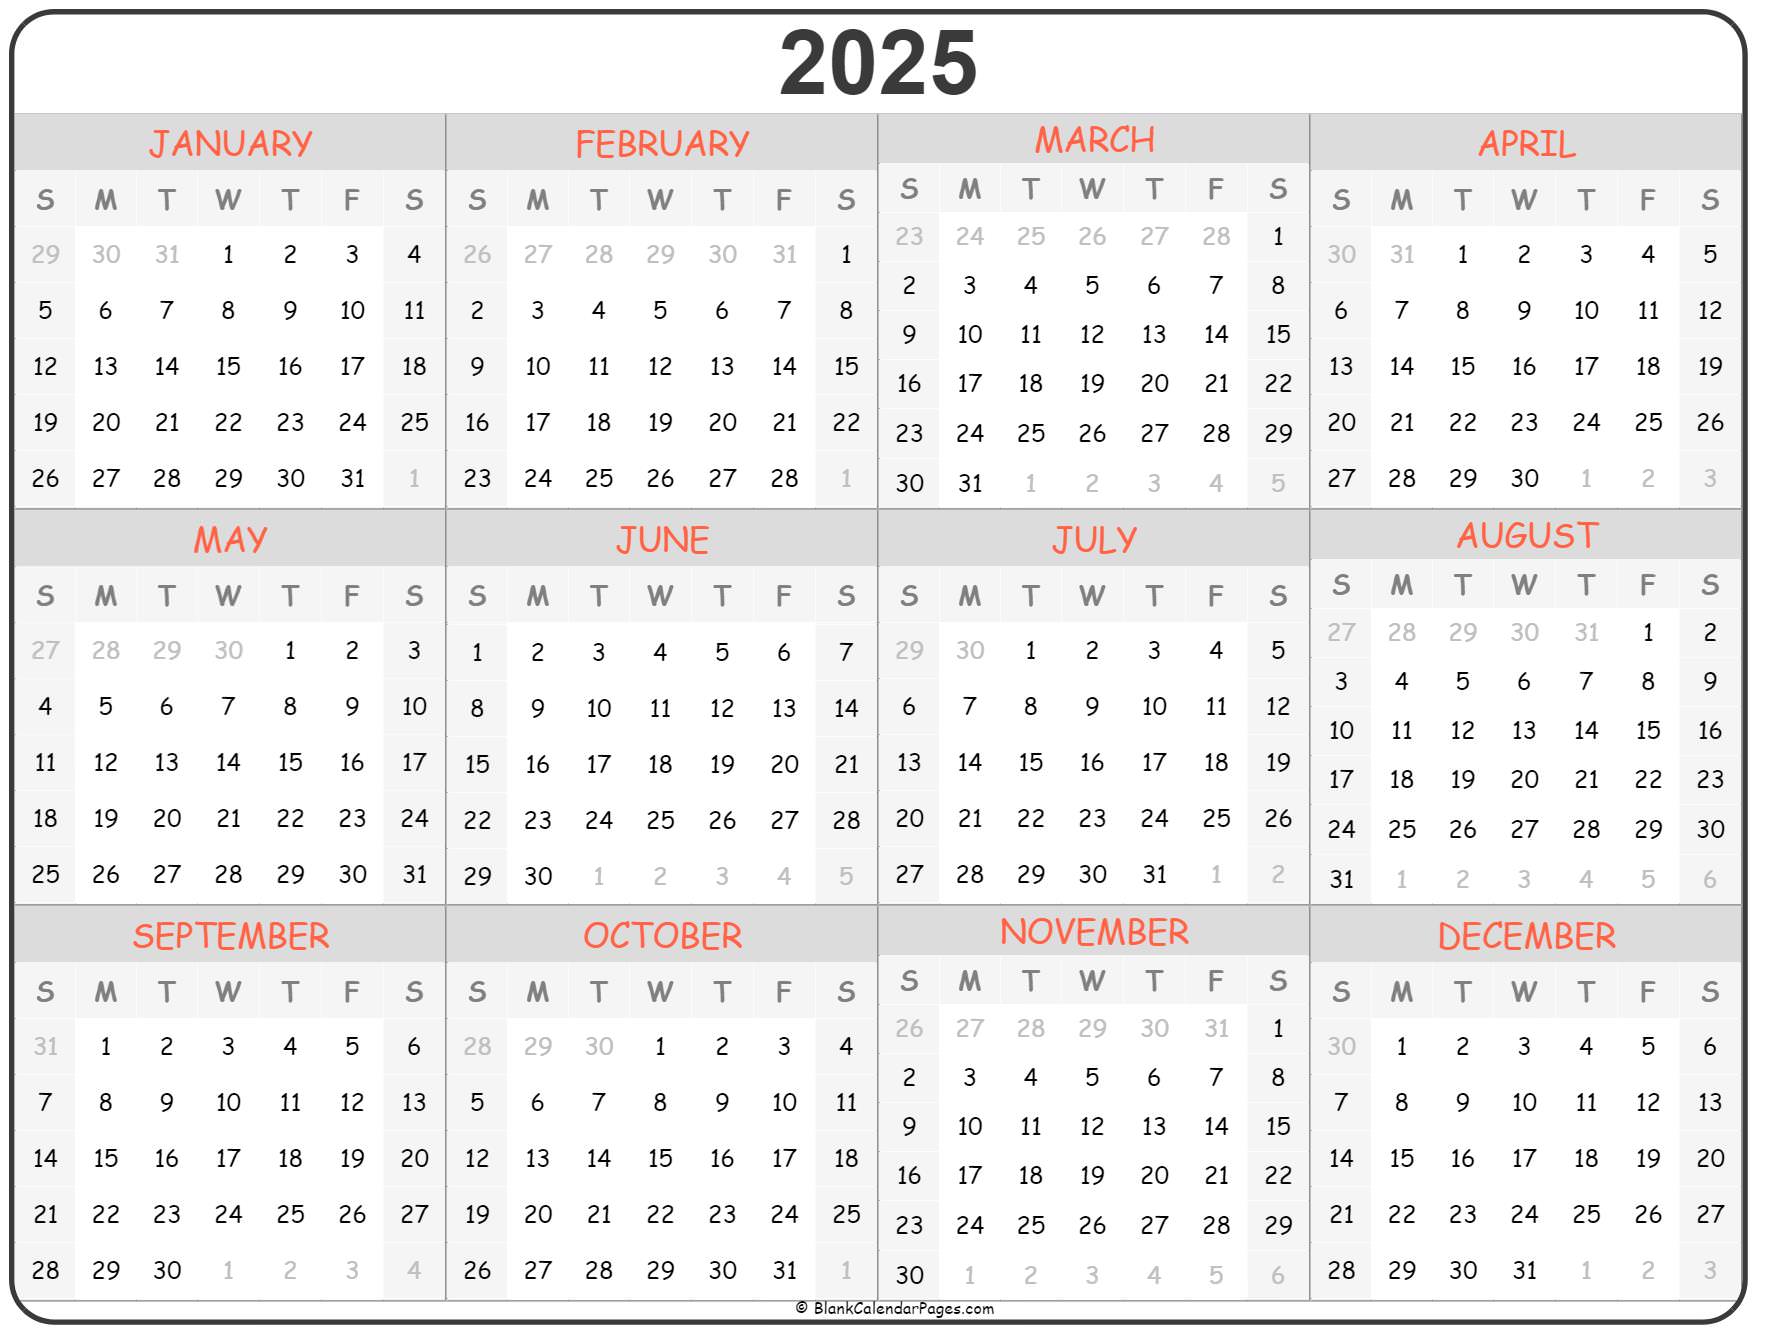
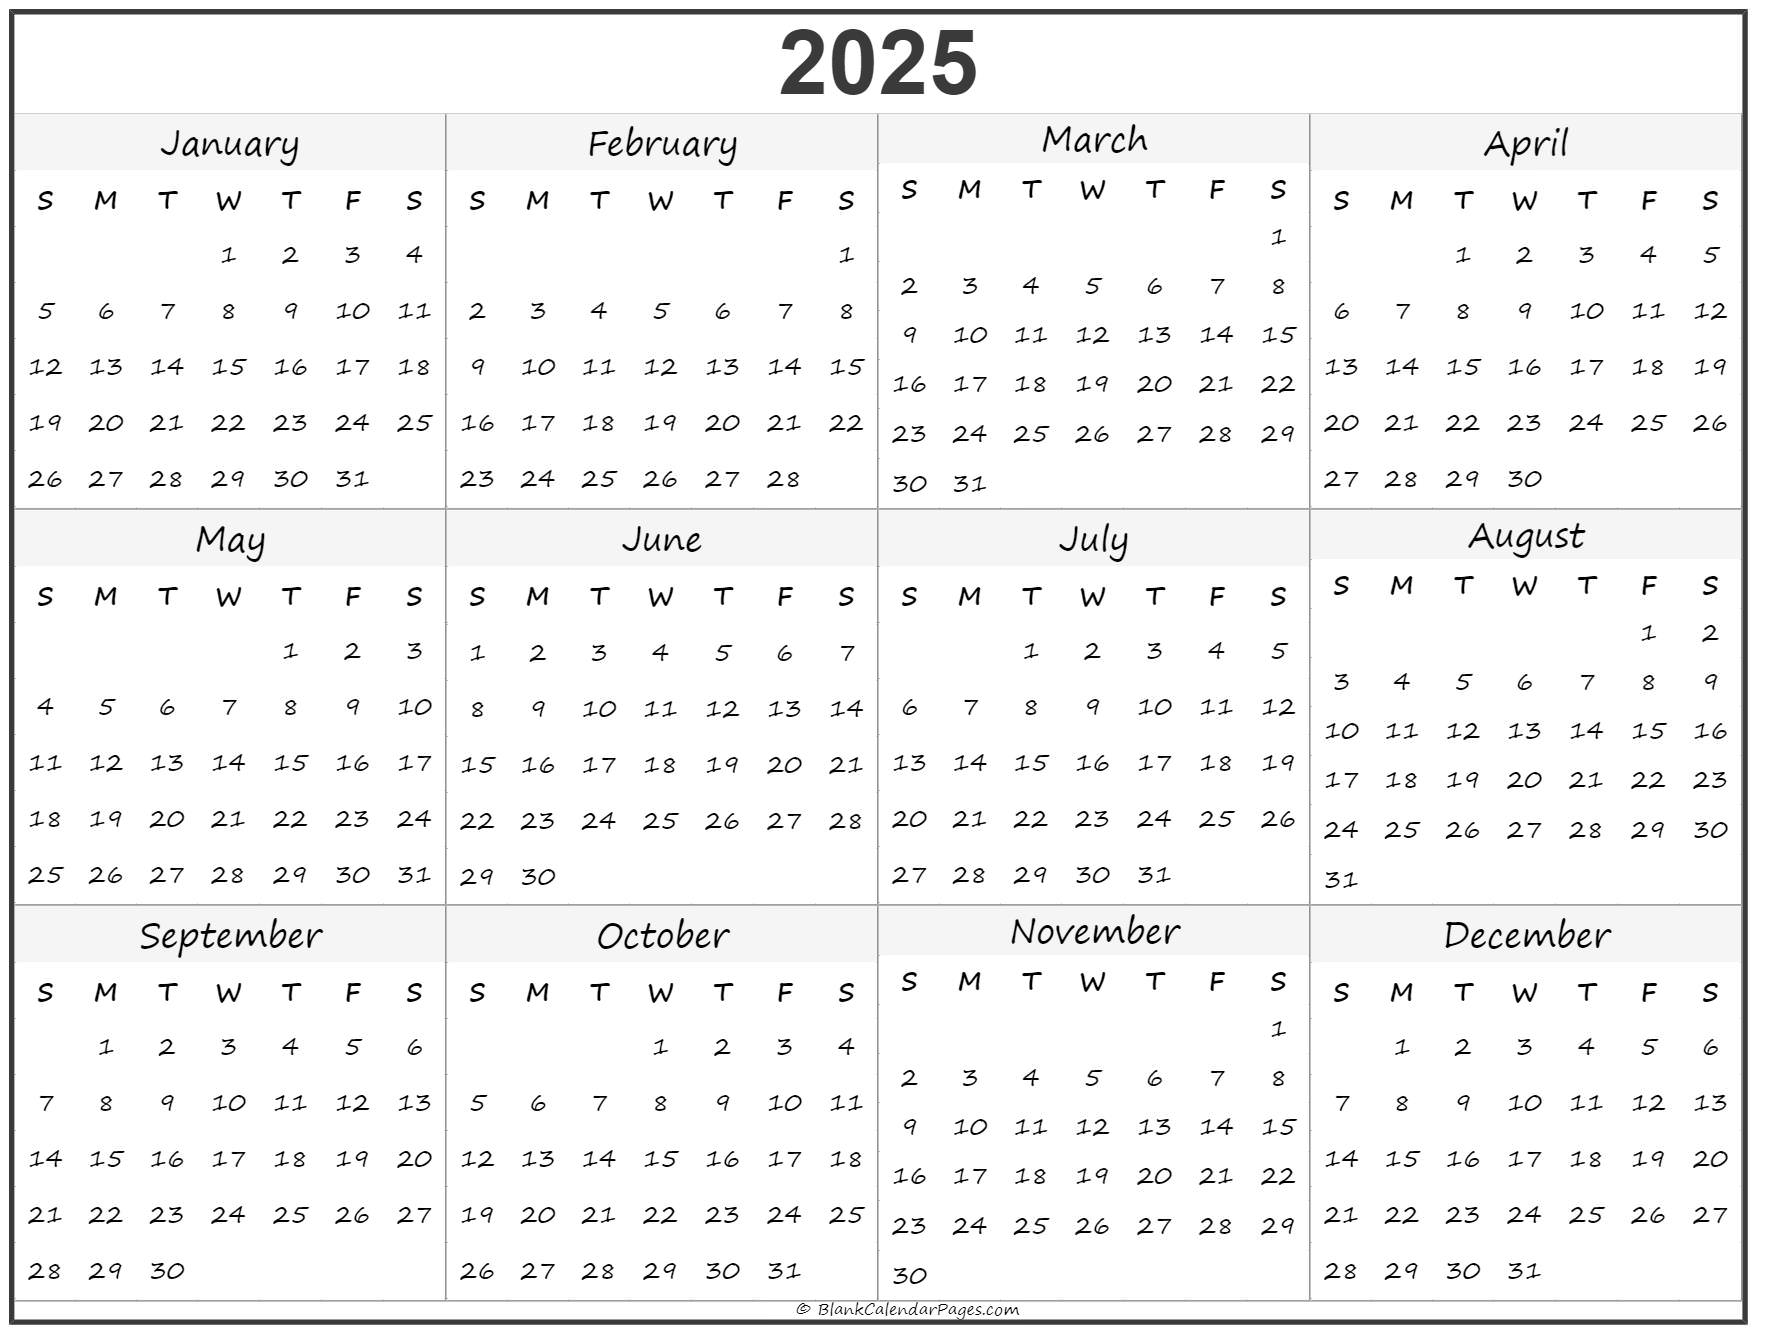
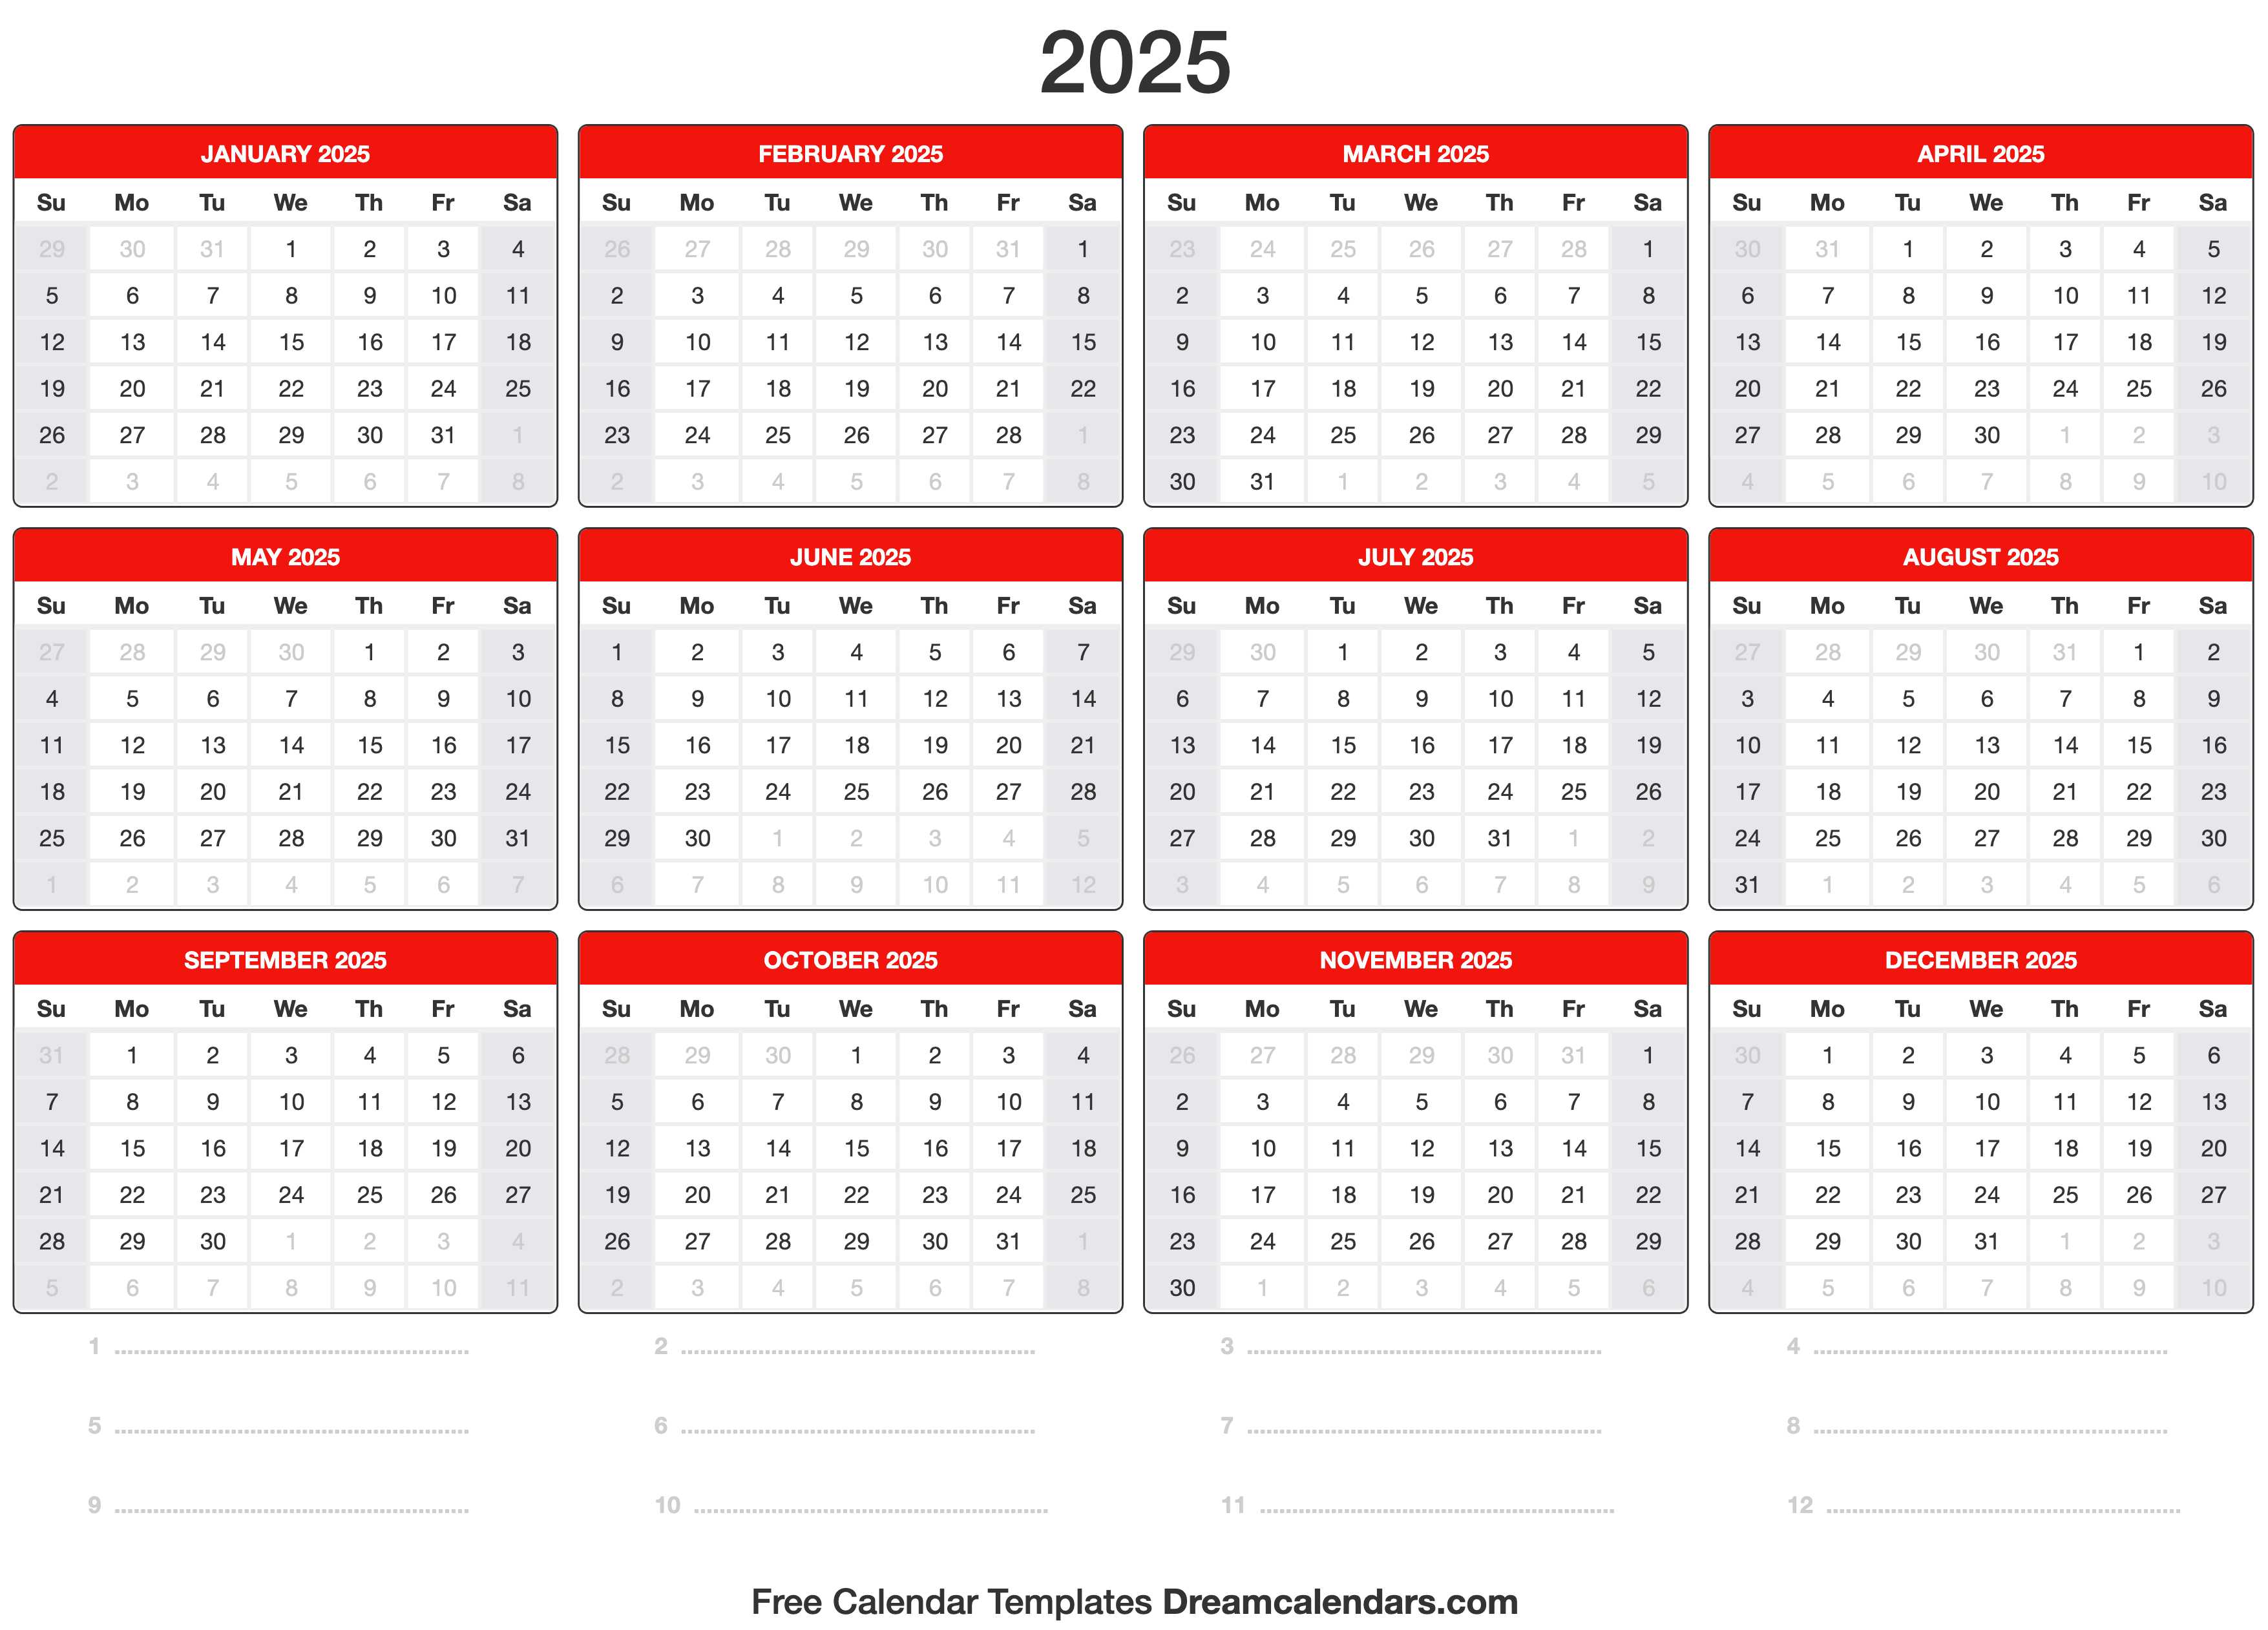
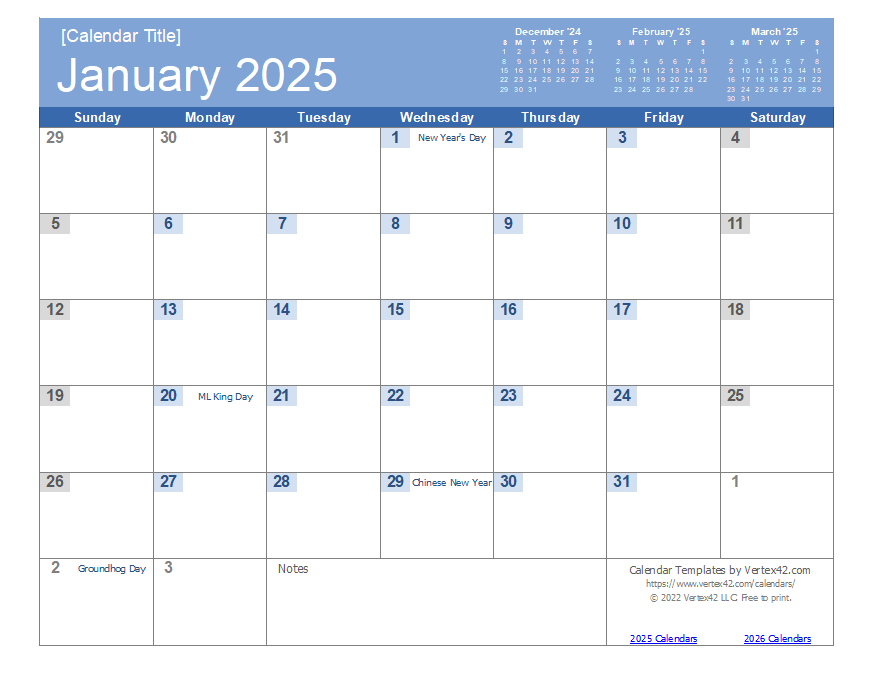
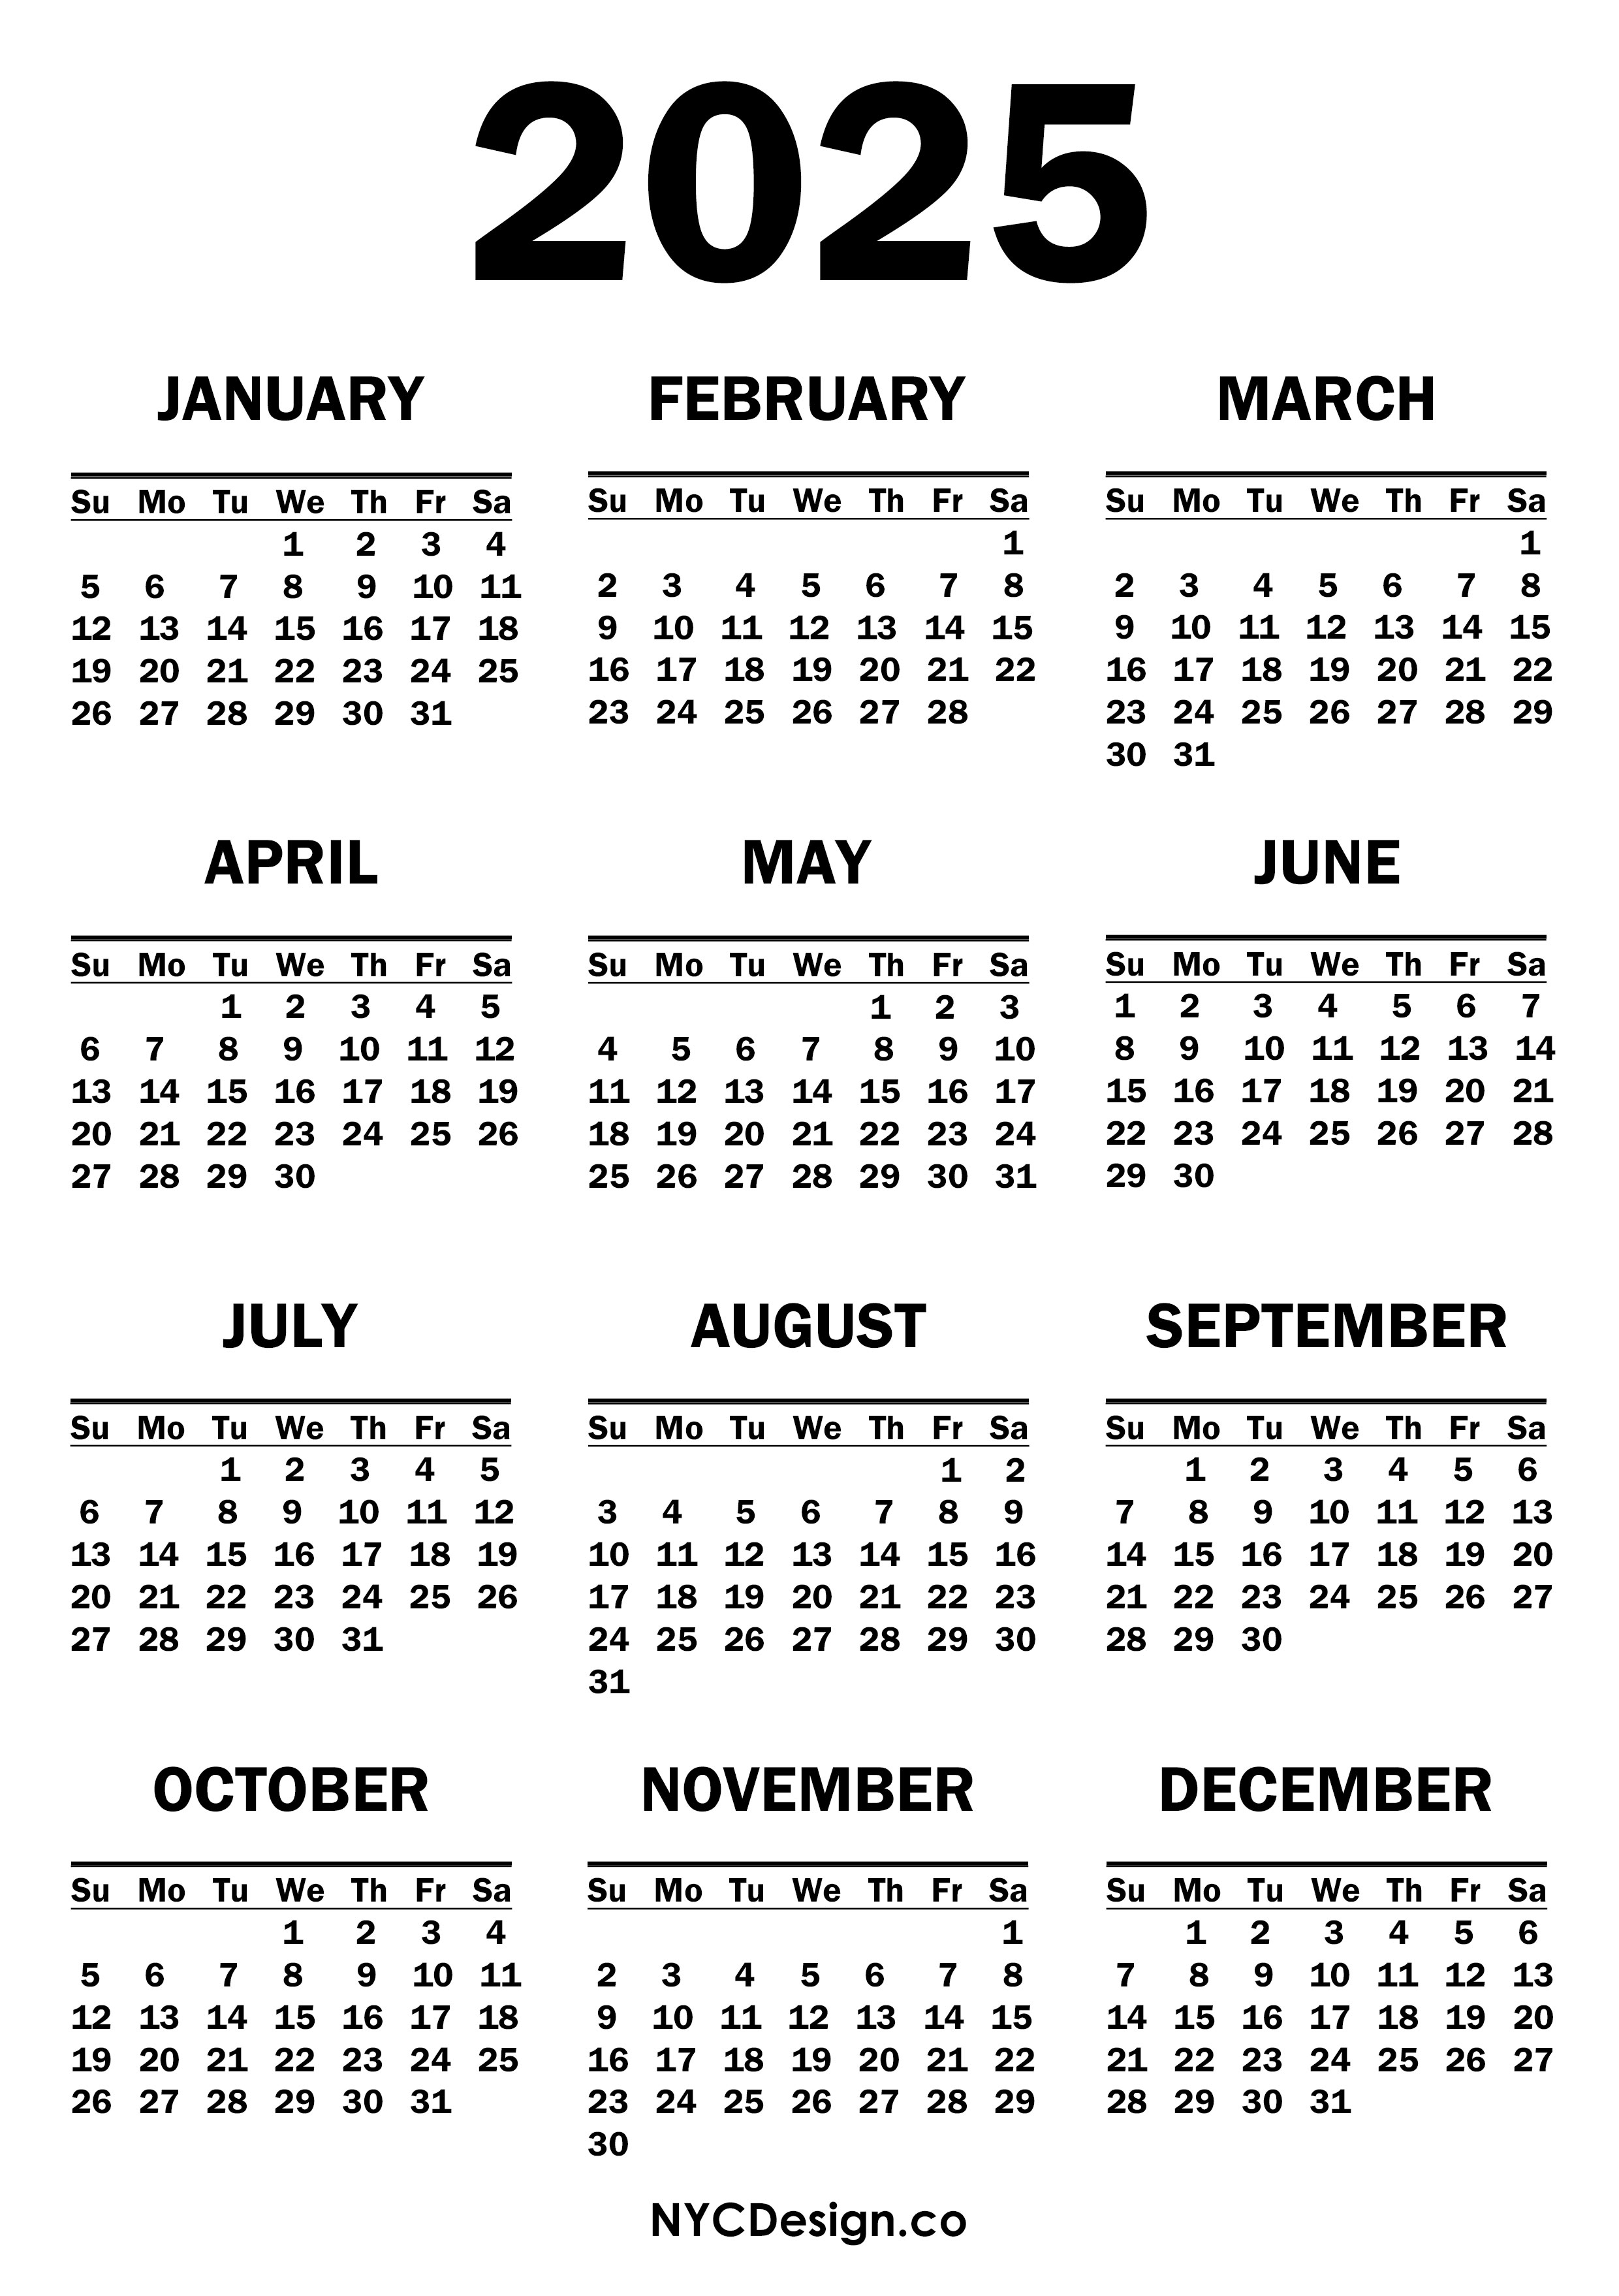
Step 1: Choose a Template
The first step is to select a calendar template. Numerous websites and resources offer free printable calendar templates in various formats and styles. You can opt for a simple grid layout, a monthly view with ample space for notes, or a more decorative design with images or patterns.
Once you have chosen a template, download it to your computer. Most templates are available in PDF or PNG format, ensuring compatibility with most printers.
Step 2: Customize Your Calendar
Once you have a template, it’s time to customize it to your liking. Using a PDF editor or image editing software, you can add your own text, images, and colors.
-
Add Events and Appointments: Mark important dates, appointments, and events on the calendar. Use different colors or symbols to differentiate between different types of events.
-
Include Notes and Reminders: Leave space for notes and reminders next to each day. This allows you to jot down important tasks, deadlines, or any other information you need to keep track of.
-
Personalize with Images: If desired, you can add images or patterns to the calendar to make it more visually appealing. Choose images that reflect your personal style or the purpose of the calendar.
Step 3: Print Your Calendar
Once you have finished customizing your calendar, it’s time to print it. Ensure that your printer is connected to your computer and has sufficient ink or toner.
-
Choose Paper Quality: Select high-quality paper for printing your calendar. Heavier paper will provide a more durable and professional-looking result.
-
Set Print Options: In the print settings, adjust the scale and orientation of the calendar to fit your desired size and format.
-
Preview Before Printing: Before hitting the print button, preview the calendar to ensure that everything looks as expected. Check for any errors or adjustments that need to be made.
Step 4: Display and Use Your Calendar
Once printed, you can display your calendar in a convenient location. Hang it on a wall, place it on your desk, or keep it in your planner.
-
Regularly Review: Regularly review your calendar to stay up-to-date on your schedule. Cross off completed tasks and make necessary adjustments as needed.
-
Carry It with You: If necessary, make a smaller version of the calendar to carry with you for quick reference.
Additional Tips for Creating a Printable 1-Page 2025 Calendar
-
Consider Your Purpose: Before creating your calendar, think about its intended purpose. Will it be used for personal scheduling, business planning, or a specific project? This will help you determine the appropriate level of detail and customization.
-
Use Color Coding: Color coding different events or categories can make your calendar more visually appealing and easier to navigate. Assign specific colors to different types of appointments, tasks, or projects.
-
Include Holidays and Observances: Mark important holidays and observances on your calendar to avoid scheduling conflicts.
-
Add a Notes Section: Leave a dedicated section for notes and reminders on the calendar. This allows you to jot down additional information or upcoming events that don’t fit in the daily squares.
-
Experiment with Fonts and Styles: Don’t be afraid to experiment with different fonts and styles to create a unique and personalized calendar. Choose fonts that are easy to read and visually appealing.
Conclusion
Creating a printable 1-page 2025 calendar is a simple and effective way to stay organized and on top of your schedule. By following the steps outlined in this guide, you can easily customize and print a calendar that meets your specific needs. Whether you prefer a minimalist design or a more elaborate layout, a printable calendar provides a tangible and convenient tool for planning and tracking your appointments, events, and important dates throughout the year.


Closure
Thus, we hope this article has provided valuable insights into Printable 1-Page 2025 Calendar: A Comprehensive Guide for Easy Planning. We thank you for taking the time to read this article. See you in our next article!